Stargazing for Beginners: A Beginner’s Guide
On this page (3 sections)
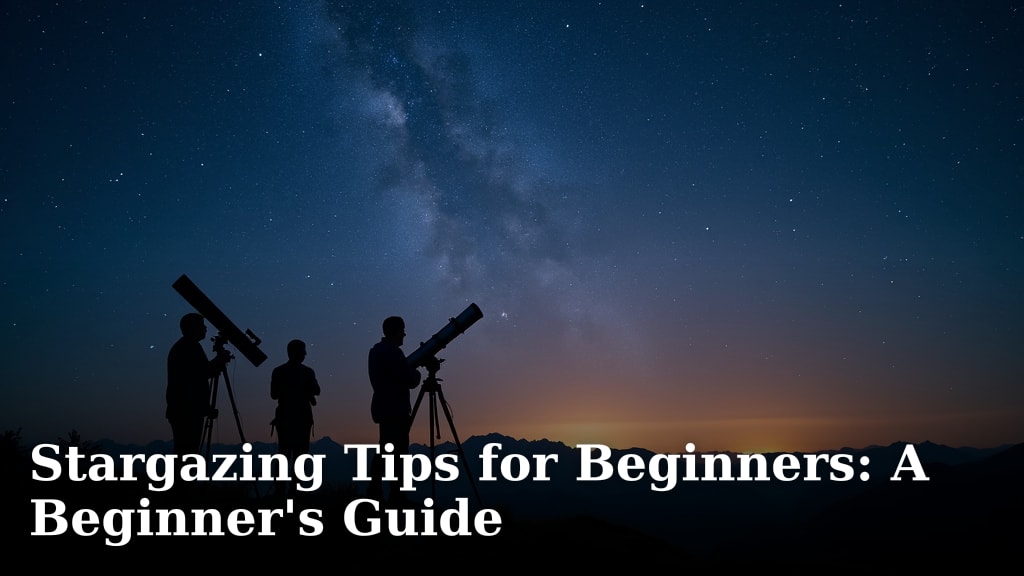
Stargazing for beginners is totally doable and incredibly rewarding. You can absolutely enjoy looking at the night sky without needing fancy equipment or years of training. It’s more about knowing what to look for and giving your eyes a little time to adjust. Your journey into the cosmos starts with simple steps.
We found that many people think stargazing requires expensive telescopes. That’s not true! Satellites are another sight to look for; learn whether a telescope can show them in our guide to viewing satellites with a telescope. With just your eyes and perhaps a simple app, you can spot planets, constellations, and even the Milky Way. Learning a few key terms helps too. It’s a fantastic way to connect with the universe around you.
- Stargazing is easy for newcomers.
- No special gear is usually needed at first.
- Your eyes and a simple guide are enough.
- You can see planets and star patterns.
Ready to start looking up? We’ll guide you through the basics of becoming a backyard astronomer. Let’s dive into how you can start your stargazing adventure tonight!
Your First Steps to Amazing Night Sky Viewing
Stargazing might seem daunting, but it’s truly accessible for everyone. You don’t need a fancy observatory or a costly telescope to begin. Our research shows that most beginners can start with just their eyes and a little bit of planning.
Finding the Best Spot for Your Viewing
The biggest challenge for stargazers is light pollution. Bright city lights can wash out fainter stars and celestial objects. Finding a darker location is key to seeing more of the night sky.
Minimizing Light Pollution
Even in a suburban area, you can find pockets of less light. Look for parks or open fields away from streetlights. You might be surprised at what you can see once you get a little distance from the brightest areas. Sometimes, a backyard with good tree cover can also offer a slightly darker patch.
Checking the Weather
Clear skies are essential for stargazing. Clouds can completely hide your view of the stars. Always check the weather forecast before you plan your viewing session. A night with low humidity is also often better, as it can improve clarity.
Giving Your Eyes Time to Adjust
Your eyes need time to adapt to the dark. This process is called dark adaptation. It can take about 20 to 30 minutes for your eyes to reach their full sensitivity to low light conditions. So, don’t expect to see everything right away.
The Importance of Red Light
Bright white lights, like those from a smartphone screen, can ruin your night vision. If you need light to read a star chart or use an app, use a red flashlight. Red light has less impact on your eyes’ ability to adapt to the dark. Many stargazing apps have a red-light mode built-in.
What to Look For When You’re Starting Out
When you first start looking up, focus on the most obvious and brightest objects. These are often the easiest to find and can give you a great sense of accomplishment.
The Moon
Our moon is a fantastic first target. Depending on its phase, you can see craters, mountains, and plains. Its visibility changes nightly, so it’s always something new to observe.
Bright Planets
Several planets in our solar system are often visible to the naked eye. Jupiter, Saturn, Mars, and Venus are the most common. They typically appear as very bright “stars” that don’t twinkle as much. We found that identifying Jupiter and Venus is often the easiest for beginners.
Familiar Constellations
Constellations are patterns of stars that humans have imagined for thousands of years. Learning a few common ones can help you navigate the sky. Some of the most recognizable include Ursa Major (the Big Dipper), Ursa Minor (the Little Dipper), Orion, and Cassiopeia.
Simple Tools to Enhance Your Experience
While you can do a lot with just your eyes, a few simple tools can make your stargazing more enjoyable and informative. You don’t need to spend a lot of money.
Star Charts and Apps
A star chart, or planisphere, is a rotating star map that shows the visible stars for any given date and time. Astronomy apps for smartphones and tablets are also incredibly useful. They can show you what you’re looking at in real-time as you point your device at the sky. We found these apps are incredibly intuitive for beginners.
Binoculars
A good pair of binoculars can reveal much more than your eyes alone. They can show you details on the moon, reveal star clusters, and even help you spot brighter nebulae and galaxies under dark skies. They are also much easier to transport and set up than a telescope. Many experts suggest starting with 7×50 or 10×50 binoculars.
Getting Started: A Quick Checklist
Here’s a simple checklist to help you prepare for your first stargazing session:
- Find a location away from bright lights.
- Check the weather forecast for clear skies.
- Allow at least 20 minutes for your eyes to adjust to the dark.
- Download a stargazing app or grab a star chart.
- Use a red light for any necessary illumination.
- Be patient and enjoy the view!
What to Expect as You Learn More
As you become more comfortable, you’ll want to see more. You might start noticing the different colors of stars or how some appear to move relative to others. This is when you might consider a beginner telescope, but it’s not necessary to enjoy the night sky.
Understanding Celestial Objects
<
Conclusion
You’ve learned that stargazing is truly for everyone, requiring no expensive gear to start. Your journey into the night sky is made easier by finding dark spots, checking the weather, and letting your eyes adjust. Focusing on easy targets like the Moon, bright planets, and familiar constellations builds your confidence. Simple tools like star apps and binoculars enhance the experience without breaking the bank.
Ready to see the stars for yourself? Your next step is simple: pick a clear night, step outside away from bright lights, and look up. You’ve got the knowledge to start your cosmic adventure tonight!
Frequently Asked Questions
How long does it take for my eyes to get used to the dark?
Your eyes need time to adjust to low light conditions. This process, called dark adaptation, can take about 20 to 30 minutes. Be patient during this period; your night vision will improve significantly.
Can I really see planets without a telescope?
Yes, you can! Jupiter, Saturn, Mars, and Venus often appear as bright points of light that don’t twinkle as much as stars. They are some of the easiest celestial objects for beginners to spot.
What is light pollution and how do I avoid it?
Light pollution is the excessive artificial light that brightens the night sky. To avoid it, find viewing spots away from city lights, like parks or open fields. Even your backyard might offer a darker patch if you move away from streetlights.
Why should I use a red light when stargazing?
Bright white lights, especially from phones, can ruin your night vision. Red light has a much smaller impact on your eyes’ ability to see in the dark. Many stargazing apps include a red-light mode for this reason.
What’s the difference between a star chart and a stargazing app?
A star chart, or planisphere, is a physical map of the stars that you manually set for the date and time. A stargazing app uses your phone’s location and orientation to show you what you’re looking at in real-time, often making it easier to identify objects.