Stargazing Tips for Beginners: A Beginner’s Guide
On this page (3 sections)
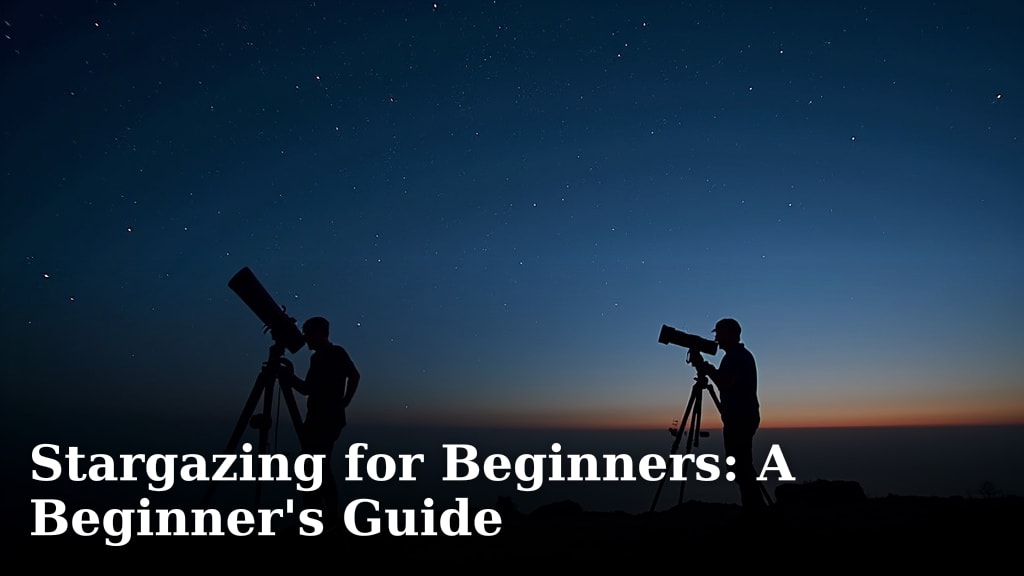
Stargazing for beginners is surprisingly simple with a few key tips. You can start seeing the night sky’s wonders with just your eyes and a dark location. Knowing what to look for and when to look makes all the difference for your first stargazing adventure.
We found that many people think stargazing requires expensive equipment, but that’s not true. You can enjoy the stars without a telescope for a long time. Focusing on naked-eye astronomy is a great way to begin your journey.
TL;DR:
- Find a dark spot away from city lights.
- Let your eyes adjust to the dark for about 20 minutes.
- Start by looking for bright stars and planets.
- Use a simple star chart or app to identify what you see.
Ready to get started? Below, we break down the easiest ways to begin your amazing stargazing journey right from your backyard.
Getting Started with Backyard Stargazing
Ready to see the night sky like never before? You might think stargazing needs a special trip or fancy gear. But we found that often, the best place to start is right outside your door. Your own backyard can be a fantastic observatory with just a little planning.
Finding the Best Viewing Spot
The first step to a great stargazing experience is finding a dark location. City lights create what astronomers call “light pollution.” This haze washes out fainter stars. It’s like trying to see a candle flame in a brightly lit room. We recommend getting as far away from streetlights and house lights as you can. Even a few feet can make a difference. If your backyard is too bright, consider a local park or a quiet country road for your next stargazing outing.
Giving Your Eyes Time to Adjust
Once you’re in a dark spot, patience is key. Your eyes need time to adapt to the low light. This process is called “dark adaptation.” It can take up to 20 to 30 minutes for your eyes to reach their full sensitivity. During this time, avoid looking at bright lights. That includes your phone screen! If you must use a light, a red-filtered flashlight is best. Red light affects your night vision less than white light. Many experts suggest this simple step can dramatically improve what you see (Harvard University).
The Science Behind Dark Adaptation
Inside your eyes are two types of light-sensitive cells: rods and cones. Cones help you see color and detail in bright light. Rods are responsible for vision in low light. They are much more sensitive to light. When you move from a bright area to darkness, your cones stop working as much. Your rods then become active. This switch takes time. It’s a natural biological process that helps us see better when it’s dark.
What to Look For in the Night Sky
As your eyes adjust, you’ll start to notice more stars. What should you focus on first? We found that beginning with the brightest objects is a great strategy. These are usually the easiest to spot.
Bright Stars and Constellations
Look for stars that seem to shine with a steady, bright light. These are often planets. Planets don’t twinkle as much as stars do because they are closer to us. Venus and Jupiter are often the brightest objects after the Moon. You’ll also want to learn a few basic constellations. A constellation is a group of stars that form a pattern. Some easy ones to find are Ursa Major (the Big Dipper), Orion (visible in winter), and Cassiopeia.
The Moon and Its Phases
The Moon is one of the most stunning sights in the night sky. Its appearance changes throughout the month. These changes are called phases. A full moon is bright and can make it harder to see fainter stars. A crescent or gibbous moon offers a beautiful view and still allows fainter objects to be seen. Observing the Moon can teach you a lot about celestial motion.
Tools to Enhance Your Stargazing
While you can see a lot with just your eyes, a few simple tools can greatly improve your experience. You don’t need to spend a fortune.
Star Charts and Apps
A star chart is like a map of the sky. You can get printed ones or use mobile apps. Many free stargazing apps are available for smartphones and tablets. You simply hold your device up to the sky, and the app will identify stars, planets, and constellations. We found these apps to be incredibly helpful for beginners. They can point you towards interesting objects and help you learn the night sky.
Binoculars: A Great First Step
Before jumping to a telescope, consider a good pair of binoculars. They are more portable and easier to use than many telescopes. Binoculars can show you details on the Moon, like craters. They can also reveal star clusters and nebulae that are invisible to the naked eye. Research suggests that even basic binoculars can reveal thousands more stars than you can see without them (The Planetary Society).
Choosing Your First Telescope (Optional)
If you get hooked on stargazing, you might consider a telescope. For beginners, we found that refractors or Dobsonians are often recommended. They are generally easier to set up and use. Avoid overly complex or cheap telescopes. They can be frustrating. A good quality, simple telescope will provide much more enjoyment. If you get hooked on stargazing, you might consider a telescope; our guide explains how far they can see.
What to Observe and When
The night sky is always changing. Knowing what to look for and when can make your stargazing more rewarding.
Seasonal Changes in the Sky
As Earth orbits the Sun, different parts of the galaxy become visible. In the summer, you might see the constellation Cygnus. Winter brings the bright stars of Orion. Spring skies offer Leo. Knowing the seasons can help you anticipate what celestial wonders await you. Many astronomy websites provide seasonal sky guides.
Meteor Showers and Other Events
Keep an eye out for special events. Satellites are another moving sight to look for; see our guide to spotting satellites with a telescope. Meteor showers, like the Perseids in August or the Geminids in December, are spectacular. During a meteor shower, you can see dozens of shooting stars per hour. Planetary conjunctions, where planets appear close together in the sky, are also exciting. These events are usually well-advertised by astronomy organizations.
A Quick Checklist for Your First Stargazing Night
Ready to give it a try? Here’s a simple checklist to help you prepare:
- Find a dark location away from city lights.
- Allow at least 20 minutes for your eyes to adjust.
- Download a stargazing app or grab a star chart.
- Look for the brightest objects – planets and prominent stars.
- Try to identify a few easy constellations like the Big Dipper.
- Dress warmly, as nights can get chilly even in summer.
Common Beginner Mistakes to Avoid
Even with the best intentions, beginners sometimes make common errors. Being aware of these can help you have a smoother experience.
Not Letting Eyes Adapt
As mentioned earlier, rushing the dark adaptation process is a big one. You’ll miss so much if you don’t give your eyes time. We found that simply waiting patiently makes a huge difference in visibility.
Using White Light Sources
Your smartphone, a regular flashlight, or even car headlights can ruin your night vision. Always use a red light if you need illumination. If you don’t have a red flashlight, try covering a regular flashlight with red cellophane or a red cloth.
Trying to See Too Much Too Soon
The sky is vast. Don’t get overwhelmed trying to identify everything at once. Focus on one or two objects or constellations per session. Learning a little bit each time is more enjoyable and less frustrating.
Ignoring Weather Conditions
Clouds are the enemy of stargazers. Check the weather forecast before you head out. A clear, dry night is essential for good viewing. Also, consider the Moon phase; a full moon can outshine fainter objects.
Conclusion
You’ve learned that stargazing is accessible to everyone. You don’t need fancy equipment to enjoy the night sky. By finding a dark spot and letting your eyes adjust, you can see amazing things. Using simple tools like star charts or apps will guide you. Remember to focus on bright objects and easy constellations first. Your stargazing journey can start tonight, right from your backyard. Step outside, look up, and let the wonders of the universe unfold before you.
Frequently Asked Questions
How can I tell if a bright spot in the sky is a planet or a star?
Planets tend to shine with a steady, consistent light. Stars, on the other hand, often twinkle because their light is more affected by Earth’s atmosphere. If a bright object isn’t twinkling much, it’s likely a planet.
What’s the best way to use a stargazing app without ruining my night vision?
Most stargazing apps have a “night mode” feature. This usually changes the screen color to red or dim yellow. It’s best to activate this mode before your eyes fully adjust to the dark. Avoid looking at your phone screen frequently.
Is it really worth going somewhere dark if my backyard has some lights?
Yes, it makes a huge difference. City lights create light pollution that washes out fainter stars and celestial objects. Even moving a short distance away from direct light sources can dramatically improve what you can see.
Can I stargaze successfully on a night with a full moon?
While a full moon is beautiful, its bright light can make it harder to see fainter stars and deep-sky objects like nebulae. For seeing dimmer objects, nights with a crescent or no moon are generally better.
How do I know which constellations are visible during different seasons?
Your stargazing app will automatically show you which constellations are visible from your location based on the time and date. Printed star charts also often have seasonal sections. Looking up a “seasonal sky guide” online is another easy way to find out.