How Do I Focus a Telescope? A Beginner’s Guide
On this page (8 sections)
Focusing a telescope is a straightforward process once you learn the basics. You’ll want to start with your lowest magnification eyepiece and use the focus knob until the image is sharpest. This usually takes just a few seconds. Don’t worry if it seems tricky at first; it’s something many new stargazers figure out quickly.
Getting a clear view of celestial objects is the most exciting part of using a telescope. You need to find that sweet spot where the light rays converge perfectly. This involves making fine adjustments with your telescope’s focus mechanism. Many beginners find that using the finder scope first helps immensely.
- Focusing a telescope is easy.
- Use your lowest power eyepiece first.
- Turn the focus knob until the image is sharp.
- A finder scope can help you locate objects.
Ready to see the stars clearly? Let’s walk through exactly how to focus your telescope step by step.
Getting Your Telescope in Focus: A Simple Step-by-Step Guide
Focusing a telescope might seem a little daunting at first. But trust us, it’s much simpler than it looks. You’ll be enjoying crisp views of the moon and planets in no time. We’ll guide you through the process so you can make sure your telescope is showing you the best possible image.
Understanding Your Telescope’s Focus Mechanism
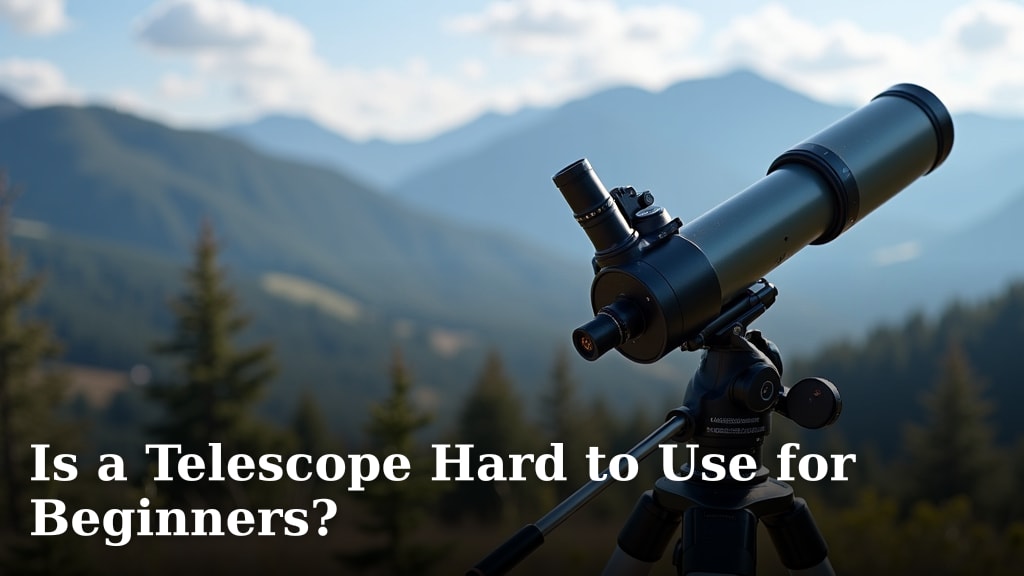
Most telescopes have a focusing system that involves moving the eyepiece in and out. This is usually controlled by two knobs, often called focus knobs. Turning these knobs adjusts the position of the eyepiece. This change in position is what allows you to bring distant objects into sharp focus.
Think of it like adjusting your eyes. When you look at something very close, your eyes work differently than when you look at something far away. Your telescope’s focus mechanism does a similar job for its “eye” (the eyepiece).
The Role of the Focus Knobs
You’ll find these knobs on the side of the focuser tube, which is the part where your eyepiece slides in. Each knob controls the movement of the focuser. Turning one knob usually moves it in one direction, and turning the other knob moves it in the opposite direction. Sometimes, there’s a little tension screw, too, which helps keep the focuser locked in place once you find your focus. This prevents accidental bumps from ruining your view.
Rough vs. Fine Focus
Some focusers have a dual-speed system. This means one knob makes big adjustments (rough focus), and the other makes tiny, precise movements (fine focus). The fine focus knob is your best friend for getting that perfectly sharp image. It allows you to make really small tweaks that make a big difference.
Choosing the Right Eyepiece for Focusing
The first step to a clear image is selecting the correct eyepiece. We recommend starting with your lowest magnification eyepiece. Why? Because it gives you a wider field of view and a brighter image, making it easier to find and focus on your target.
Lower magnification eyepieces often have a higher number associated with their focal length (e.g., 25mm or 32mm). Higher magnification eyepieces have lower numbers (e.g., 6mm or 10mm).
Why Start with Low Power?
Imagine trying to thread a needle in a dimly lit room. It’s tough! Now imagine doing it with a bright spotlight. Much easier, right? A low-power eyepiece acts like that spotlight for your telescope. It shows you a larger, brighter area of the sky.
This wider view makes it much simpler to locate an object, especially if you’re new to astronomy. Once you have the object in view and roughly focused with the low-power eyepiece, you can then switch to higher magnification eyepieces for more detail. Many experts suggest this approach for beginners (Sky & Telescope Magazine).
Step-by-Step: Focusing Your Telescope
Now that you understand the parts, let’s get down to business. Focusing is a process you’ll repeat almost every time you use your telescope. Here’s how to do it effectively.
Step 1: Aim Your Telescope
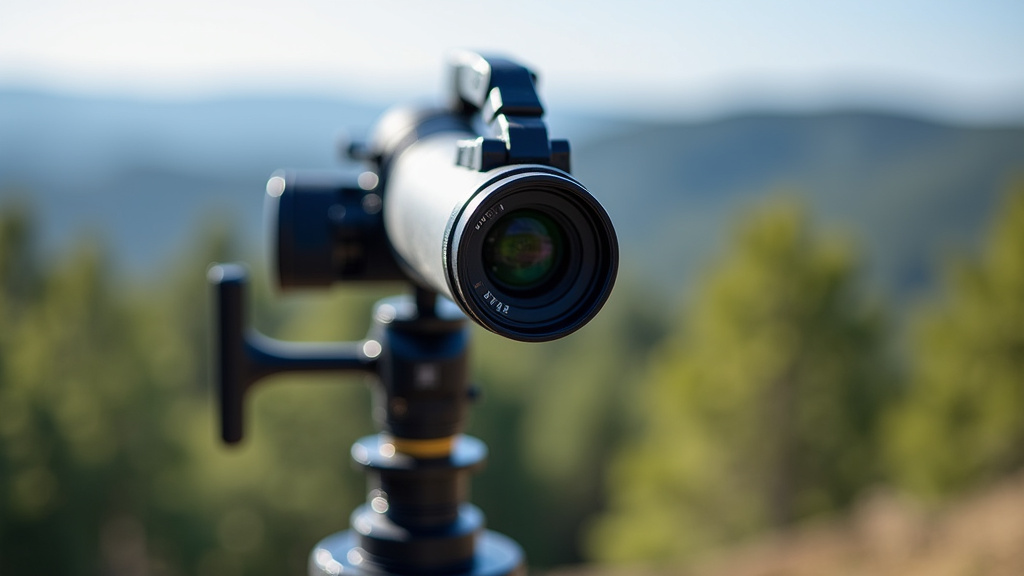
Before you even touch the focus knobs, you need to aim your telescope at your target. We suggest using your finder scope for this. A finder scope is a small, low-power telescope mounted on your main telescope. It has a wider field of view, making it much easier to point your main scope precisely.
Look through the finder scope and move the main telescope until your desired object is centered in the finder scope’s view. Once it’s centered there, it should be visible, though perhaps fuzzy, in your main telescope’s eyepiece.
Step 2: Insert Your Lowest Power Eyepiece
Make sure your lowest magnification eyepiece (the one with the largest millimeter number) is securely in place in the focuser. If you have a dual-speed focuser, use the larger knob for the initial coarse focus adjustments.
Step 3: Adjust the Focus Knobs
Look through your main telescope’s eyepiece. You’ll likely see a blurry image. Slowly turn one of the focus knobs. Watch the image carefully. You should see it start to become clearer. Keep turning the knob until the image appears as sharp as possible. You might need to turn the knob back and forth a little to find the exact sweet spot.
If you’re using a dual-speed focuser, once you’ve got it close with the coarse knob, switch to the fine focus knob. Use the fine focus knob for those last tiny adjustments to achieve razor-sharp clarity. It’s all about finding that point where the fuzzy blob becomes a distinct shape.
Step 4: Fine-Tuning for Maximum Sharpness
Sometimes, especially with bright objects like the Moon or planets, you can get the image sharp by carefully adjusting the focus knob back and forth until you see the tiniest point of light or the sharpest details. This is where patience really pays off.
If you’re looking at stars, they should appear as tiny, sharp points of light. If they look like little fuzzy blobs or even tiny diffraction spikes, you’re not quite focused yet. Many observers find that focusing on a bright star near your target object is a good strategy, as stars are excellent test subjects for focus.
Troubleshooting Common Focusing Issues
It’s rare that everything goes perfectly on the first try. Don’t get discouraged if you run into a few hiccups. We’ve all been there!
The Image Never Gets Sharp
This is a common issue for beginners. First, double-check that you are using your lowest power eyepiece. If you’re already using it, make sure you are turning the focus knob far enough. Some telescopes have a large range of focus. You might need to turn the knob quite a bit.
Another reason could be atmospheric conditions. On nights with a lot of heat shimmering, it can be very difficult to achieve a perfectly sharp focus. This is often referred to as “bad seeing.” In these cases, focus on getting the best image you can, rather than striving for absolute perfection.
Focus is “Out of Range”
Sometimes, you might turn the focus knob as far as it goes in one direction, and the image is still blurry, but in the other direction, it becomes blurry again. This means you’ve likely moved past the point of focus. You may need to reset your focus. Try moving the focuser all the way in or out, and then slowly work your way back in the opposite direction.
Also, ensure your eyepiece is fully seated in the focuser. If it’s not all the way in, it might be preventing you from reaching the correct focus point. Always make sure your accessories are inserted properly.
What About Different Objects?
The basic principle of focusing remains the same for any object, whether it’s the Moon, a planet, or a distant star cluster. However, different objects might require slightly different focus points due to their distance and light. For instance, the Moon and planets are relatively close, while nebulae are much farther away.
We found that planets often require the most precise focusing because of their smaller apparent size and potential for fine detail. For fainter deep-sky objects, getting a sharp focus might be harder, and you might need to focus on a brighter star nearby to set your focus point.
A Quick Focusing Checklist for You
Keep these simple steps in mind the next time you head out to observe:
- Use your lowest power eyepiece first.
- Center your target in the finder scope.
- Slowly turn the focus knob until the image is sharp.
- Use the fine focus knob for precise adjustments.
- Check focus on bright stars for maximum clarity.
- Be patient and make small adjustments.
Conclusion
You’ve learned how simple focusing your telescope can be. Remember to always start with your lowest magnification eyepiece and use your focus knobs to find that sharp image. Patience and small adjustments are your best tools, especially when using the fine focus. Don’t be discouraged by initial blurriness; it’s part of the learning process. Keep practicing these steps, and you’ll soon be enjoying stunning views of the night sky. Your next step is to head out under the stars and put these techniques into practice tonight!
Frequently Asked Questions
Do I need to refocus every time I change eyepieces?
Yes, you generally will need to refocus when switching to a different eyepiece, especially if it has a different magnification. Eyepieces have different focal lengths, which means they bring light to a focus at slightly different points. Your telescope’s focuser needs to be adjusted to accommodate this difference.
What is the “sweet spot” for focusing?
The “sweet spot” is the precise point where the telescope’s focuser brings the light from a celestial object into the sharpest possible focus. It’s the moment when a blurry shape resolves into clear details, and distant stars appear as tiny, sharp points of light.
Can atmospheric conditions affect my ability to focus?
Absolutely. On nights with significant heat shimmering or turbulence in the atmosphere, called “bad seeing,” it can be very difficult to achieve a perfectly sharp focus. In these conditions, aim for the best focus you can get rather than expecting absolute perfection.
My telescope’s focus knob feels loose. Is something wrong?
Sometimes, focusers have a small tension screw. This screw allows you to adjust how much resistance you feel when turning the focus knob. If it feels too loose, you might be able to tighten this screw slightly to give it more tension. Always check your telescope’s manual for specific instructions.
How do I know if I’ve achieved perfect focus on stars?
When a star is perfectly focused, it will appear as the smallest, sharpest possible point of light. If you see fuzzy halos around the stars, or they look like tiny smudges, you need to make further adjustments with your focus knob. Using a high-power eyepiece can make this easier to see.