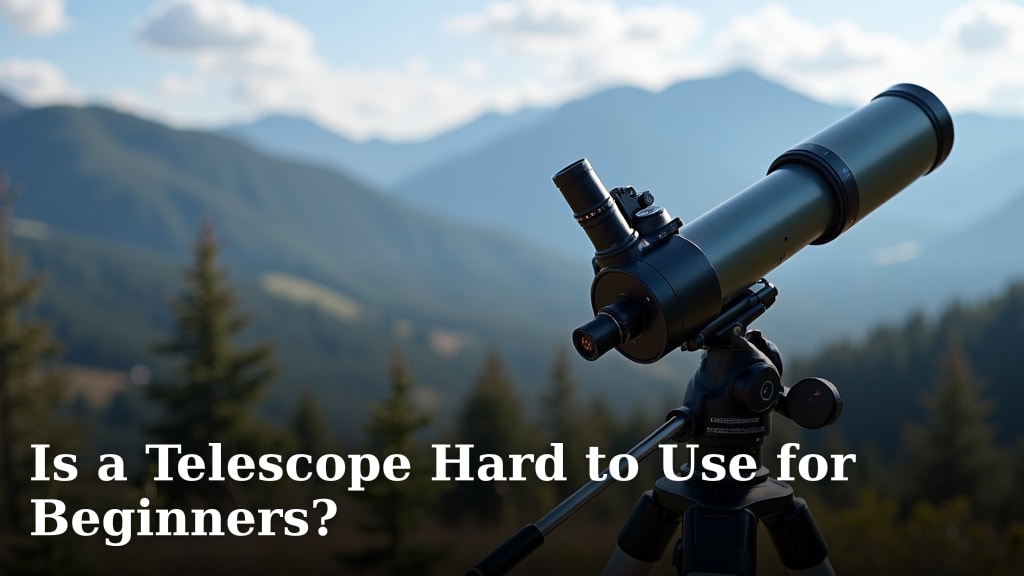
Is a Telescope Hard to Use for Beginners?
No, a telescope is not hard to use for beginners when you pick the right one. Many modern telescopes are designed with simplicity in mind. You can be viewing the moon and planets on your very first night out.
While some advanced models can be complex, the key is finding a beginner-friendly telescope. We found that many factors contribute to ease of use, including mount type and optical design. It’s more about choosing wisely than about innate skill.
- Telescopes can be easy for newcomers.
- Look for user-friendly models.
- Mounts and optics affect how simple they are.
- Your first night can be rewarding.
Let’s walk through what makes a telescope easy to use and how you can get started stargazing tonight.
Understanding Telescope Ease of Use for Newcomers
So, you’re curious about stargazing but wondering if a telescope is too tricky to handle? You’re not alone! Many people think telescopes are complicated gadgets. The good news is, with the right choice, they absolutely can be easy for beginners. We found that getting started is more about picking the right tool than having a degree in astronomy. You can be looking at the moon’s craters or Jupiter’s moons on your very first clear night.
Think of it like learning to ride a bike. Some bikes are built for racing with lots of gears and tricky pedals. Others are simple, stable bikes perfect for cruising around the neighborhood. Telescopes are similar. We found that modern beginner telescopes are designed to get you looking up fast. The goal is to help you enjoy the night sky without a steep learning curve.
What Makes a Telescope Beginner-Friendly?
Several key features contribute to a telescope’s ease of use. It’s not just about pointing and looking. We found that the mount and the optical design play huge roles. Let’s break down what these mean for you.
The Importance of the Mount
The mount is the base of your telescope. It’s what holds the optical tube and allows you to point it at different parts of the sky. There are two main types that beginners will encounter: alt-azimuth and equatorial.
Alt-Azimuth Mounts: Simple and Intuitive
An alt-azimuth mount moves up and down (altitude) and side to side (azimuth). Imagine it like a camera tripod. You can move it left, right, up, and down. This is very natural and easy to learn. You simply push the telescope in the direction you want to look.
We found that most beginner telescopes come with this type of mount. They are usually very stable and don’t require a lot of setup. You can often set them up in just a few minutes. This means less time fiddling and more time observing the stars.
Equatorial Mounts: A Bit More Involved
Equatorial mounts are designed to follow the stars as they move across the sky. They have one axis aligned with the Earth’s axis of rotation. This allows for smoother tracking, especially for astrophotography. However, they require a bit more knowledge to set up and align. You need to “polar align” them, which means pointing one of the axes precisely at the North Celestial Pole.
While powerful, we found that equatorial mounts can be overwhelming for absolute beginners. They are fantastic for more experienced stargazers who want to take long-exposure photos of galaxies. For simply looking at the moon and planets, an alt-azimuth mount is usually the better and easier choice.
Optical Tube Designs: Different Views
The optical tube is where the light-gathering happens. There are three main types of optical designs: refractor, reflector, and catadioptric. Each has its pros and cons for beginners.
Refractor Telescopes: Clear and Simple
Refractor telescopes use lenses to gather and focus light. They are often sealed tubes, which means they require very little maintenance. You typically won’t need to collimate them (adjust mirrors), which is a task that can confuse newcomers. They offer sharp, high-contrast images, making them excellent for viewing the moon and planets.
We found that small to medium-sized refractor telescopes are generally very user-friendly. They are often very portable, too. You can set them up in your backyard or take them to a darker location with ease. Their simplicity makes them a great starting point.
Reflector Telescopes: Big Aperture for Your Buck
Reflector telescopes use mirrors to gather and focus light. They are often cheaper than refractors for the same size of the main mirror (called aperture). A larger aperture means you can see fainter objects and more detail.
However, reflector telescopes typically have open tubes with mirrors that can sometimes go out of alignment. This means you might need to collimate them. For beginners, this might sound daunting. Many modern beginner reflectors come with collimation tools and clear instructions, though. If you opt for a reflector, look for one with a Dobsonian mount.
Dobsonian Mounts: Stable and Easy
A Dobsonian mount is a type of alt-azimuth mount specifically designed for reflector telescopes. It’s essentially a sturdy wooden box that the telescope tube sits in. These mounts are known for being incredibly stable and easy to use. You just push the tube to point it.
We found that Dobsonian telescopes offer a fantastic balance. You get a large aperture for excellent views of galaxies and nebulae, combined with a simple alt-azimuth mount. They are often considered some of the best value telescopes for beginners wanting to see deep-sky objects.
Catadioptric Telescopes: A Hybrid Approach
Catadioptric telescopes, like Schmidt-Cassegrains or Maksutov-Cassegrains, use a combination of mirrors and lenses. They are very compact and portable for their aperture size. They are also sealed, requiring little maintenance.
However, we found that these types of telescopes are generally more expensive. They are also often paired with more complex mounts, which might be more than a beginner needs. For your first telescope, a refractor or a Dobsonian reflector usually offers a smoother entry into astronomy.
Key Features for an Easy Stargazing Experience
Beyond the mount and optical design, other factors make a telescope a joy to use. We looked at what makes the actual stargazing process less frustrating and more rewarding.
Built-in Finderscopes: Finding Your Target
One of the most challenging parts for new astronomers is finding celestial objects. Telescopes have a narrow field of view, so you need to aim them precisely. This is where a finderscope comes in. It’s a smaller, low-power telescope or a red-dot sight mounted on top of your main telescope.
You look through the finderscope, which has a wider view, to center your target. Then, when you look through the main telescope’s eyepiece, the object will be visible. Many beginner telescopes come with a red-dot finder, which is incredibly simple: just point the red dot at the star. We found that a good, easy-to-use finderscope dramatically reduces frustration.
Ease of Assembly: Getting Ready Quickly
When you get your telescope, you want to be able to set it up without a major headache. Many beginner telescopes are designed for tool-free assembly. You might just need to attach the optical tube to the mount and insert a couple of eyepieces. This means you can be out under the stars within minutes of opening the box.
We found that telescopes with clear, step-by-step instructions, especially with diagrams or pictures, are a huge help. Some even include setup videos online. The less time you spend trying to figure out how it works, the more time you have for actual observing.
Portability: Taking it Where the Stars Are
Light pollution in cities can make stargazing difficult. Being able to take your telescope to a darker location is often necessary for the best views. If your telescope is too heavy or bulky, you might find yourself making excuses not to travel with it.
We found that telescopes that are lightweight and pack down easily are ideal. Many refractors and smaller Dobsonians are perfect for this. You can easily carry them to a local park or a friend’s house in a more rural area. This portability opens up a world of better observing opportunities.
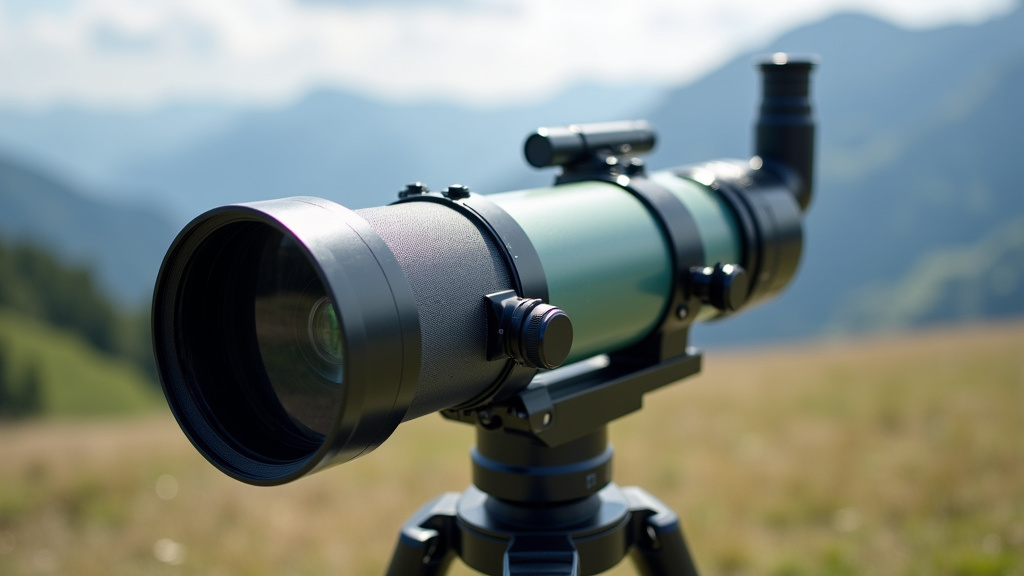
Your First Night Out: Simple Steps to Success
Ready to try it? Here’s a simple checklist to help you get started. We found that a little preparation makes a big difference.
- Choose a Clear Night: Check the weather forecast. You need clear skies!
- Pick an Easy Target: Start with the Moon. It’s bright, large, and always fascinating.
- Set Up Early: Give yourself plenty of time before it gets completely dark.
- Let it Acclimate: If you move from a warm house to a cold outside, let the telescope adjust its temperature for about 30 minutes. This helps with clear views.
- Use Your Finderscope: Center the Moon in the finderscope first, then look in the main eyepiece.
- Start with Low Power: Use the eyepiece with the largest number (e.g., 25mm). This gives you a wider view and is easier to focus.
Don’t worry about complicated settings or alignment procedures for your first few outings. The goal is to get comfortable with how your telescope moves and how to focus. We found that many beginners are surprised by how much they can see right away, even from their backyard. A simple telescope, used correctly, can provide hours of enjoyable discovery.
Conclusion
You absolutely can start stargazing without feeling overwhelmed! We found that choosing a beginner-friendly telescope is your key. Simple mounts like alt-azimuth and user-friendly optical designs, such as refractors or Dobsonians, make a huge difference. Don’t forget the importance of a good finderscope and easy assembly.
Your first night out can be incredibly rewarding. Ready to take the next step? Start by researching telescopes with these beginner-friendly features we discussed.
Frequently Asked Questions
Do I need a powerful telescope to see anything interesting?
No, you don’t need a super powerful telescope. We found that even a modest beginner telescope can show you amazing detail on the Moon. You’ll also be able to spot Jupiter’s moons and Saturn’s rings on clear nights.
How long does it typically take to set up a beginner telescope?
Most beginner telescopes are designed for quick setup. We found that many can be assembled in 10-20 minutes without tools. This means you spend less time tinkering and more time enjoying the night sky.
Is it hard to focus a telescope for the first time?
Focusing is generally straightforward. You’ll use a knob to adjust the eyepiece until the image is sharp. We found that starting with the Moon or bright planets makes focusing much easier.
What’s the biggest mistake beginners make with telescopes?
A common mistake is choosing a telescope that’s too complex or difficult to set up. We found that beginners often get frustrated by complicated mounts or hard-to-find objects. Stick to simpler, user-friendly models to start.
Can I use a telescope from my backyard even with some light pollution?
Yes, you can! While dark skies are best, your backyard can still offer great views. We found that the Moon and planets are bright enough to be seen even in moderately light-polluted areas.