How to Use a Telescope for Beginners: A Beginner’s Guide
On this page (3 sections)
Using a telescope for the first time might seem tricky, but it’s quite doable! You can start seeing amazing things in the night sky by following a few simple steps. This beginner’s guide will help you set up your telescope and make your first celestial observations a success, showing you how to find planets and stars easily.
Many beginners wonder if they need fancy equipment to start stargazing. The good news is that most telescopes come with the basics you need. We found that understanding your telescope’s main parts and how they work together is key. You’ll learn to focus on objects and get a clear view without feeling overwhelmed.
- Point your telescope away from bright lights.
- Align your finder scope with the main telescope.
- Start with bright objects like the Moon or planets.
- Adjust the focus knob slowly for a sharp image.
Ready to start your cosmic journey? Let’s walk through exactly how to use your telescope step by step, so you can start enjoying the wonders above.
Your First Steps Using a Telescope
Getting started with a telescope is an exciting adventure! You’re about to see the universe up close. We found that knowing the basics of your telescope makes the process much smoother. Let’s break down how to point it at the sky and get a clear view of distant objects.
Understanding Your Telescope’s Main Parts
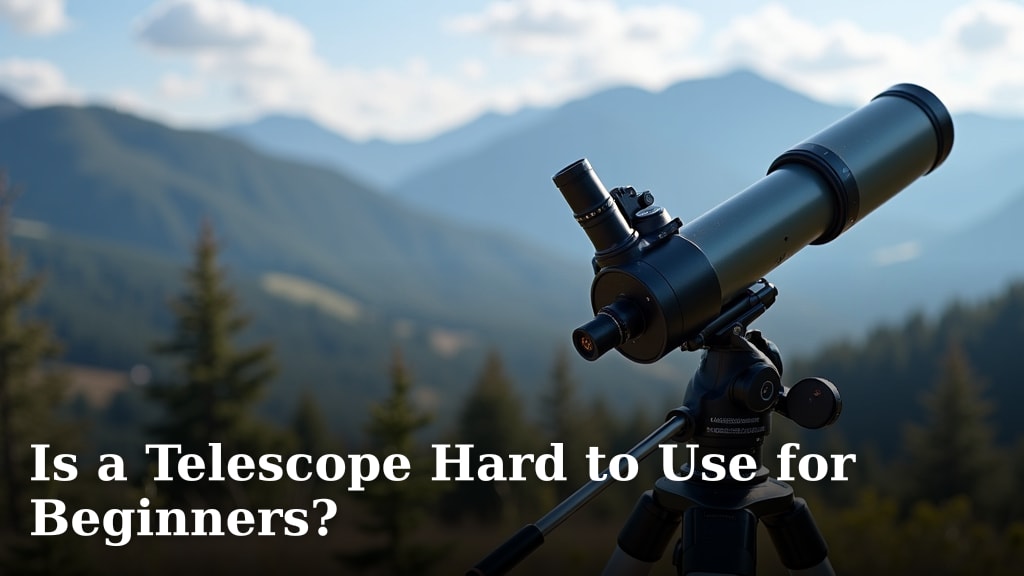
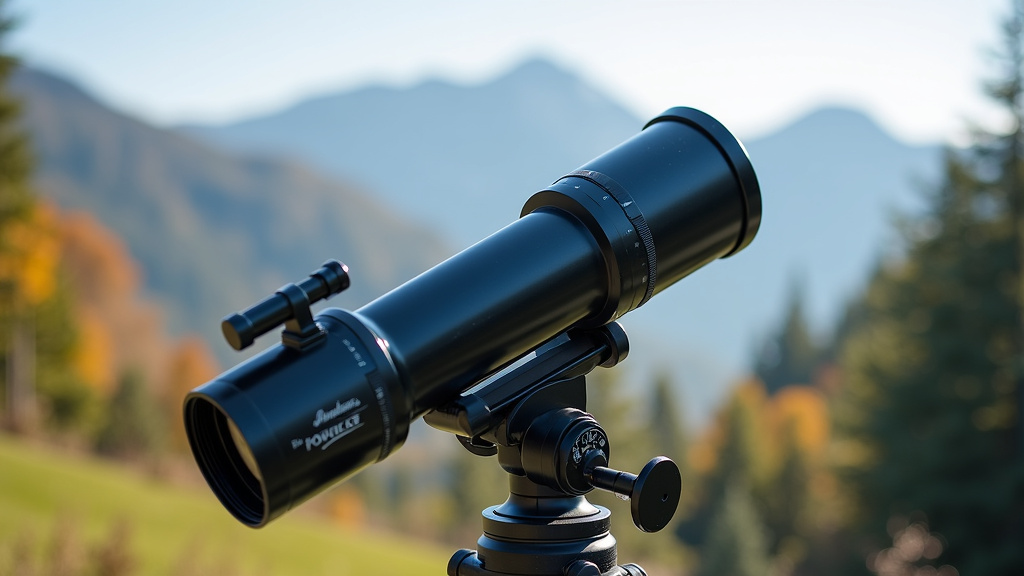
Your telescope might look complicated, but it has a few key components that work together. Knowing these will help you handle it correctly. We found that understanding these parts is your first big step to successful stargazing.
The Optical Tube
This is the main body of your telescope. It holds the lenses or mirrors that gather and focus light. Think of it as the eye of your telescope. A longer tube usually means more magnification, but it’s not the only factor. Read why telescopes need to be long for a closer look at telescope length. You’ll also find it holds the main focus mechanism.
The Mount
The mount is what your optical tube sits on. It supports the telescope and allows you to move it around. There are two main types: alt-azimuth and equatorial. An alt-azimuth mount moves up-down and left-right, like a camera tripod. An equatorial mount is designed to track celestial objects as the Earth rotates.
The Finder Scope
This is a small, low-power scope attached to the main tube. It has a wider field of view, making it much easier to find objects. You’ll aim the finder scope first, then look through your main telescope. It’s like lining up your sights before taking a shot.
The Eyepiece
This is the part you look through. Eyepieces come in different magnifications. A lower number means higher magnification. You’ll likely start with a lower-power eyepiece to find your target, then switch to a higher-power one for a closer look. We found that having a few different eyepieces is very helpful.
Setting Up Your Telescope Correctly
Before you can see anything, you need to assemble your telescope properly. This usually involves attaching the optical tube to the mount and adding your finder scope. Many manufacturers provide clear instructions, and we found following them closely prevents frustration later.
Assembly Tips
Make sure all screws and bolts are snug, but don’t overtighten them. A wobbly mount will make it hard to keep anything in focus. For equatorial mounts, aligning the mount with true north is important for tracking. This is called polar alignment, and many guides explain how to do it. Many astronomers suggest practicing this during the day.
Choosing a Location
Finding a good spot to set up is key. You want to be away from bright lights, like streetlights or house lights. Light pollution can wash out fainter objects. We found that even moving a short distance away from a light source can make a big difference. Open fields or your backyard, away from direct light, are usually best.
Your First Night Under the Stars: Step-by-Step
Now comes the exciting part! Let’s get your telescope pointed at something amazing. We found that starting with easy targets helps build your confidence.
Step 1: Align Your Finder Scope
This is perhaps the most critical first step. Your finder scope needs to point to the exact same spot as your main telescope. To do this, point your main telescope at a distant, stationary object during the day – like a far-off tree or a distant building. For daytime views of distant land, learn what a spotting scope can offer. Use the main telescope to center that object in the eyepiece. Then, while looking through the finder scope, adjust its screws until that same object is centered in the finder scope’s view. Once aligned, whatever you see in the finder scope will be near the center of your main telescope’s view.
Step 2: Choose Your First Target
For your first viewing session, aim for something bright and easy to find. The Moon is a fantastic first target. Its craters and seas are visible even with small telescopes. Bright planets like Jupiter or Saturn are also excellent choices. These are often visible to the naked eye, making them easier to locate. Many beginner astronomy guides list the best planets to observe each month. You can use your telescope to see on the Moon, and our guide explains what details are visible.
Step 3: Locate Your Target
Start by looking through your finder scope. Move the telescope slowly until your target is in the center of the finder scope’s view. Don’t worry if it’s not perfectly centered yet; you’ll refine this with the main telescope.
Step 4: Focus Your View
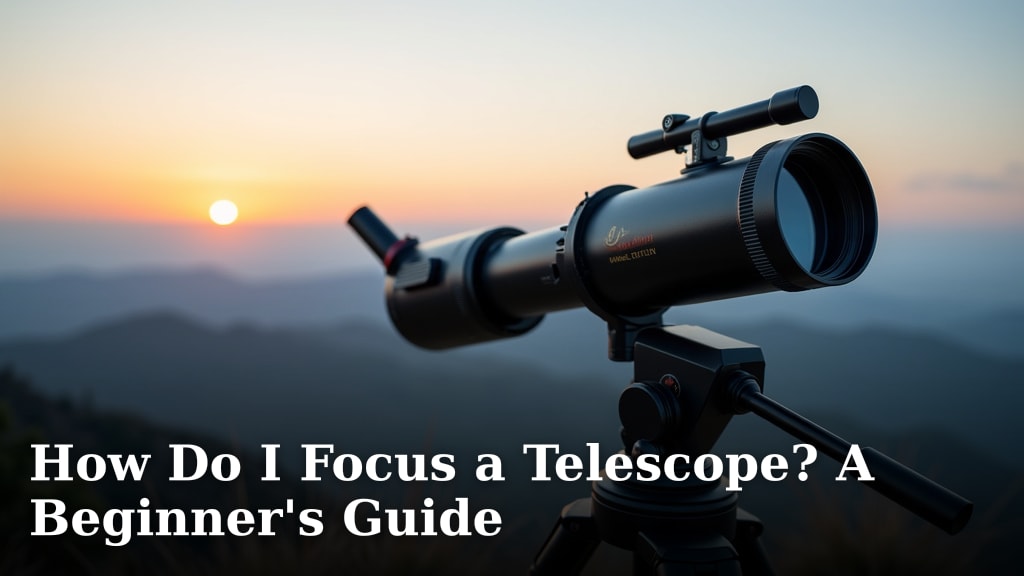
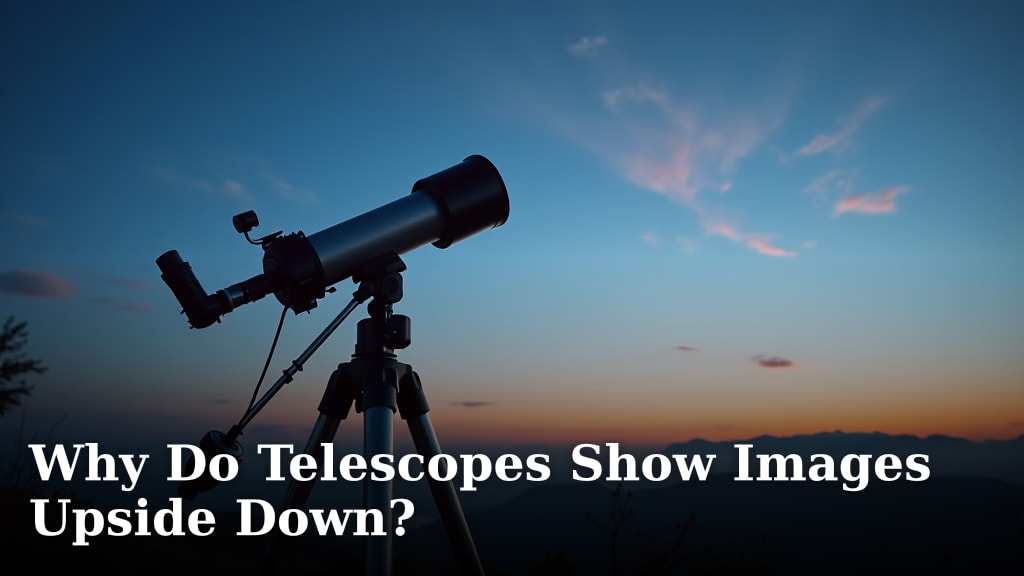
Now, look through your main telescope’s eyepiece. The object might be blurry. Some telescopes show an inverted view; learn why telescope images appear upside down. Gently turn the focus knob. You’ll feel it move. Keep turning slowly until the image becomes sharp and clear. It’s like adjusting an old camera lens. We found that a steady hand helps a lot here. If you’re using a high-power eyepiece, the image might shake more. Start with a lower-power eyepiece for easier focusing.
Step 5: Observe and Enjoy!
Once you have a clear view, take your time. Look at the details. If you’re observing Jupiter, you might see its largest moons. For Saturn, you might glimpse its famous rings. Even a small telescope can reveal astonishing sights. Many experienced astronomers suggest letting your eyes adjust to the dark for at least 15-20 minutes before observing. This makes fainter details much more visible.
Tips for Better Viewing
Even with the basics down, a few extra tips can make your stargazing sessions more rewarding. We found these small adjustments help beginners greatly.
Use a Low-Power Eyepiece First
Always start with your lowest power (highest focal length number) eyepiece. This gives you a wider field of view, making it easier to find objects. Once you have your target centered, you can switch to a higher-power eyepiece for a closer look. This is a common technique used by many stargazers.
Let Your Telescope Acclimate
If you bring your telescope from a warm house into the cold night air, let it sit outside for 20-30 minutes before using it. The temperature difference can cause condensation and affect the optics. This acclimatization helps the telescope perform at its best.
Avoid Looking at the Sun
This is a critical safety warning. Never, ever point your telescope at the Sun without a proper solar filter. Doing so can cause immediate and permanent blindness. Many experts strongly advise against this, even if you think you know what you’re doing.
Keep a Red Flashlight Handy
You’ll need light to read charts or adjust your telescope. A regular white flashlight will ruin your night vision. A red flashlight allows you to see what you’re doing without affecting your eyes’ adaptation to the dark. Many astronomy stores sell these specifically for stargazing.
A Quick Checklist for Your First Session
Here’s a simple list to run through before you start:
- Assemble your telescope securely.
- Point your finder scope at the same spot as the main scope.
- Choose a dark location, away from lights.
- Start with the Moon or a bright planet.
- Use a low-power eyepiece first.
- Focus slowly for a sharp image.
Conclusion
You’ve learned the essential steps to start using your telescope effectively. Remember to properly assemble your equipment, align your finder scope, and choose a dark location. Starting with the Moon or bright planets and using a low-power eyepiece first will make your initial stargazing experiences much more enjoyable. With a little practice and patience, you’ll be spotting incredible celestial sights. Your next step is to pick a clear night, set up your telescope, and enjoy the universe.
Frequently Asked Questions
How do I know which eyepiece to use?
You should always start with your lowest power eyepiece, which has the largest focal length number. This gives you a wider field of view, making it easier to find your target. Once centered, you can switch to a higher power eyepiece for a closer look.
What’s the best way to find planets?
Bright planets are often visible even without a telescope, making them good targets. Use your finder scope to locate them first. Many astronomy apps or websites can tell you which planets are visible each night and where to find them in the sky.
Why is my telescope image blurry?
A blurry image usually means you need to adjust the focus. Gently turn the focus knob until the image becomes sharp. Ensure your finder scope is also properly aligned with the main telescope, as this is a common reason for difficulty seeing clearly.
Can I use my telescope during the day?
You can use your telescope to observe the Moon during the day. However, you should never point your telescope at the Sun without a special solar filter. Doing so can cause immediate and permanent eye damage.
How often should I realign my finder scope?
You’ll likely only need to realign your finder scope if you bump or move your telescope significantly. It’s a good idea to check its alignment each time you set up your telescope for a viewing session, especially if you’ve transported it.