What to Look for in a Beginner Telescope?
On this page (9 sections)
- Choosing Your First Telescope: What to Look For
- Understanding Telescope Basics: Aperture is Key
- The Importance of a Stable Mount
- Portability and Ease of Use
- What About Included Accessories?
- A Quick Checklist for Your First Telescope
- Looking Beyond the Basics: What Else to Consider
- Conclusion
- Frequently Asked Questions
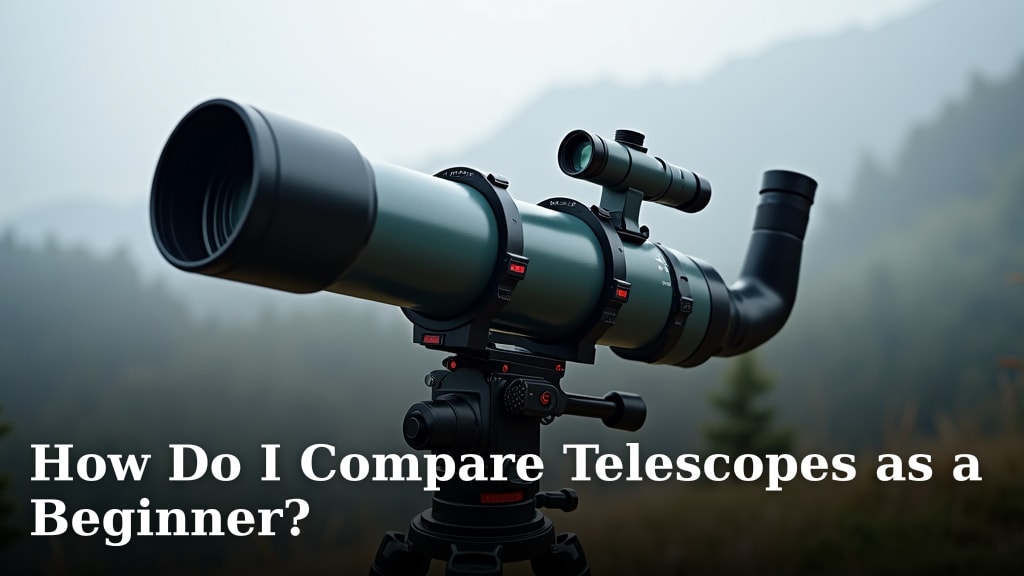
When choosing your first telescope, look for a model that offers a good balance of aperture and portability. You want an instrument that’s easy to set up and use, but large enough to show you interesting celestial sights. A refractor telescope with a lens diameter of 70mm to 90mm is often a great starting point.
Don’t get overwhelmed by technical specs; focus on what will make your stargazing enjoyable. Many beginner telescopes are designed for ease of use, often coming with pre-assembled mounts. Prioritizing a stable mount is just as important as the optics themselves for clear views.
- Aperture matters for detail.
- Portability makes stargazing easier.
- A sturdy mount is essential.
- Look for simple, user-friendly designs.
- Consider included accessories.
Ready to pick out your cosmic companion? We’ve researched what makes a beginner telescope a winner, and we’ll guide you through the key features to help you start your journey among the stars.
Choosing Your First Telescope: What to Look For
Selecting your first telescope can feel like a big step. You want something that brings the universe closer. We’ve found that the best beginner telescopes offer a great view without a steep learning curve. Let’s break down what really matters.
Understanding Telescope Basics: Aperture is Key
When we talk about telescopes, aperture is the most important number. It refers to the diameter of the main lens or mirror. Think of it like the pupil of your eye; a larger pupil lets in more light. More light means you can see fainter objects and more detail.
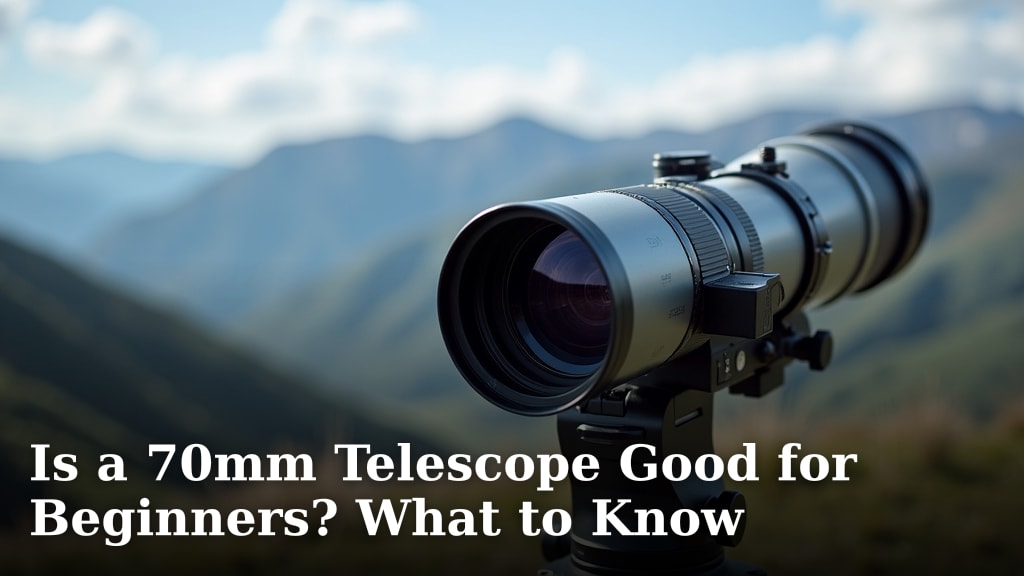
For beginners, we recommend starting with an aperture of at least 70mm for refractor telescopes. If you’re looking at reflector telescopes, aiming for 114mm or more is a good idea. This size will show you the craters on the Moon and some of the brighter planets.
Refractors vs. Reflectors: Which Type is Right for You?
Telescopes generally come in two main types: refractors and reflectors. Each has its pros and cons for a beginner.
Refractor Telescopes
Refractors use a lens at the front to gather light. They are often sleek and easy to use. Many refractor telescopes come as a complete package. They are also great for looking at planets and the Moon. You’ll find they need very little maintenance.
Reflector Telescopes
Reflectors use mirrors to gather light. They often offer more aperture for your money. This means you can get a larger mirror for a similar price compared to a refractor’s lens. They are excellent for viewing fainter deep-sky objects like nebulae and galaxies.
A common type of reflector for beginners is the Newtonian. These can sometimes require a bit more setup. They might also need occasional mirror alignment, called collimation. We found that while they offer great views, the initial setup can be a hurdle for some.
The Importance of a Stable Mount
You might think the telescope optics are everything, but a sturdy mount is just as critical. A wobbly mount will make your views blurry, no matter how good your telescope is. Imagine trying to read a book while riding a roller coaster!
Types of Mounts for Beginners
There are two main mount types you’ll encounter: Alt-Azimuth and Equatorial.
Alt-Azimuth Mounts
Alt-azimuth mounts move up-down (altitude) and left-right (azimuth). They are generally very intuitive and easy to operate. Many beginner telescopes come with these mounts. They are simple to learn and point at objects.
Equatorial Mounts
Equatorial mounts are designed to track the stars as they move across the sky. They have one axis that points towards the North Star. Once aligned, you can track an object by moving just one knob. While great for long exposures or serious tracking, they can have a steeper learning curve for beginners.
For most beginners, an Alt-Azimuth mount is perfectly suitable. We found that a well-built Alt-Azimuth mount will provide stable views and is much simpler to get started with. Look for one that feels solid and doesn’t shake excessively.
Portability and Ease of Use
Your telescope should be something you actually use. If it’s too heavy or complicated to set up, it’s likely to end up gathering dust. Consider where you’ll be stargazing.
Will you be taking it to a dark sky site away from city lights? If so, portability is a major factor. A lighter telescope with a mount that’s easy to assemble will be your best friend. Many experts suggest that a telescope you can set up in under 10 minutes is ideal (Sky & Telescope Magazine).
We found that telescopes often marketed as “grab-and-go” are excellent choices for beginners. They balance size, weight, and performance. You want to spend your time looking at the stars, not wrestling with equipment.
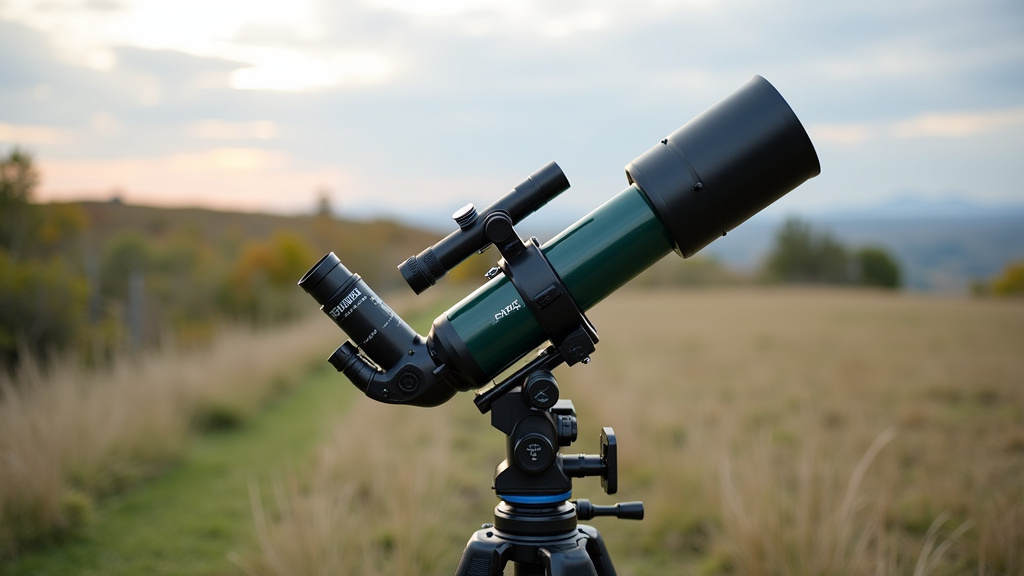
What About Included Accessories?
Many beginner telescope packages come with a few extras. These can include eyepieces, finderscopes, and sometimes even phone adapters.
Eyepieces
Eyepieces are what you look through, and they determine the magnification. Beginners often get two or three eyepieces. A lower magnification eyepiece is great for finding objects and getting a wide view. A higher magnification eyepiece is good for seeing finer details once you’ve located something.
Finderscopes
Finding faint objects can be tricky. A finderscope is a smaller, low-power telescope mounted on your main telescope. It helps you aim. There are two common types: the straight-through finderscope and the Red Dot Finder (RDF). RDFs are generally considered more user-friendly for beginners as they project a red dot onto the sky, showing you exactly where the main telescope is pointing.
We found that while included eyepieces are useful, you may want to purchase better ones down the line. However, for starting out, the ones that come with the scope are usually sufficient. A good finderscope is essential, though. The Red Dot Finder is a big plus for ease of use.
A Quick Checklist for Your First Telescope
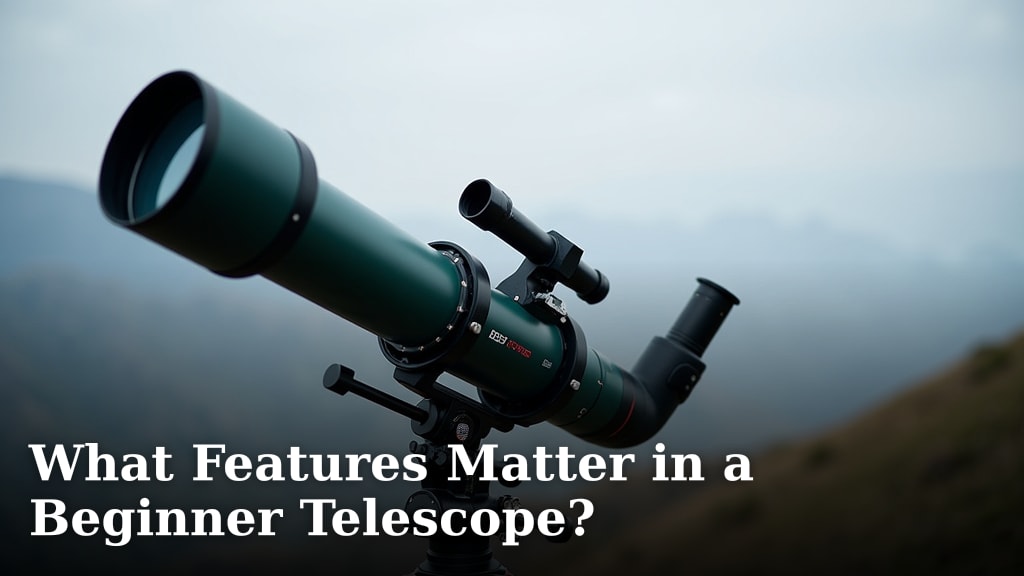
To help you summarize, here’s a quick checklist of what to look for:
- Aperture: Aim for at least 70mm (refractor) or 114mm (reflector).
- Mount Stability: Ensure it’s sturdy and doesn’t wobble excessively.
- Ease of Use: Simple setup and intuitive controls are best.
- Portability: Consider weight and how easy it is to transport.
- Finderscope: A Red Dot Finder is highly recommended.
- Reputable Brand: Stick with well-known manufacturers for better quality.
Looking Beyond the Basics: What Else to Consider
While the core features are most important, think about your long-term stargazing interests. Do you plan to travel to darker skies often? Or will you be using it in your backyard?
We found that many beginners appreciate telescopes that come with good online resources or user communities. Having a place to ask questions and share experiences can greatly enhance your journey. Reading reviews from other first-time buyers can also offer practical advice. Remember, the best telescope for you is the one that inspires you to keep looking up!
Conclusion
Picking your first telescope is an exciting step toward cosmic discovery. Remember, the best choice for you balances a decent aperture for clear views with a sturdy, easy-to-use mount. Don’t get lost in jargon; focus on simplicity and stability. A portable telescope that’s quick to set up means you’ll actually use it more often. Your stargazing journey starts with a reliable tool that inspires curiosity. Visit your local astronomy shop or reputable online retailer to see different models and get hands-on before you buy.
Frequently Asked Questions
What’s the biggest mistake beginners make when buying a telescope?
Often, beginners focus too much on high magnification. We’ve found that a telescope with too much magnification and a wobbly mount provides poor views. It’s better to have a telescope with a lower magnification that offers a stable and clear image.
Do I need a powerful telescope to see planets?
Not necessarily. With a beginner telescope that has an aperture of 70mm or more, you can clearly see the rings of Saturn and Jupiter’s largest moons. Excellent views of the Moon’s craters are also possible even with smaller instruments. With a beginner telescope that has an aperture of 70mm or more, you can clearly see the rings of Saturn.
How important is the brand of the telescope?
Brand reputation does matter for beginner telescopes. We recommend sticking with well-known manufacturers because they tend to offer better quality control and customer support. This ensures you get a reliable instrument for your stargazing.
Can I use my telescope from my backyard in a light-polluted city?
Yes, you can still enjoy stargazing even with light pollution. While dark skies are ideal, your telescope can still show you bright objects like the Moon and planets. Many beginners start with backyard astronomy and find it very rewarding.
Should I buy a telescope with a motor drive?
For most beginners, a motor drive isn’t necessary and can add complexity. Simpler Alt-Azimuth mounts are easier to learn and manually track celestial objects. While motor drives help track, they are usually a feature for more advanced telescopes.